How to establish a putting grip that maximizes feel and minimizes misses
by Marius Filmalter
There is a saying: “You will never find a good golfer with a bad grip, but you might find a bad golfer with a good grip.” Although that is very true, I don’t think the “type of grip” is all that important in putting. I have observed too many different types of successful putting grips on the PGA Tour to think that one is better than the rest. For instance: we have the popular reverse overlap grip, the overlap, the cross-handed, the praying hands, the claw, and a few more that I’m not even sure have a name yet.
The only two things important in putting are to control the 1. Direction (line) and 2. Distance (speed) you hit the ball. In other words, to hit the ball where you THINK you are aiming with the correct speed. A good grip will significantly enhance your chances to achieve these goals.
For most amateurs, I recommend the standard putting grip. It’s simple and easy to learn.
The key to the standard grip is getting the putter into the palms of your hands–not the fingers, like you would in a full-swing grip.
And that means, on your left hand, instead of the grip coming at a slight downward angle across the bottom of your fingers and the heel pad resting on top of the club, the grip comes almost straight up and down through your palm, with your THUMB pad on top of the putter.
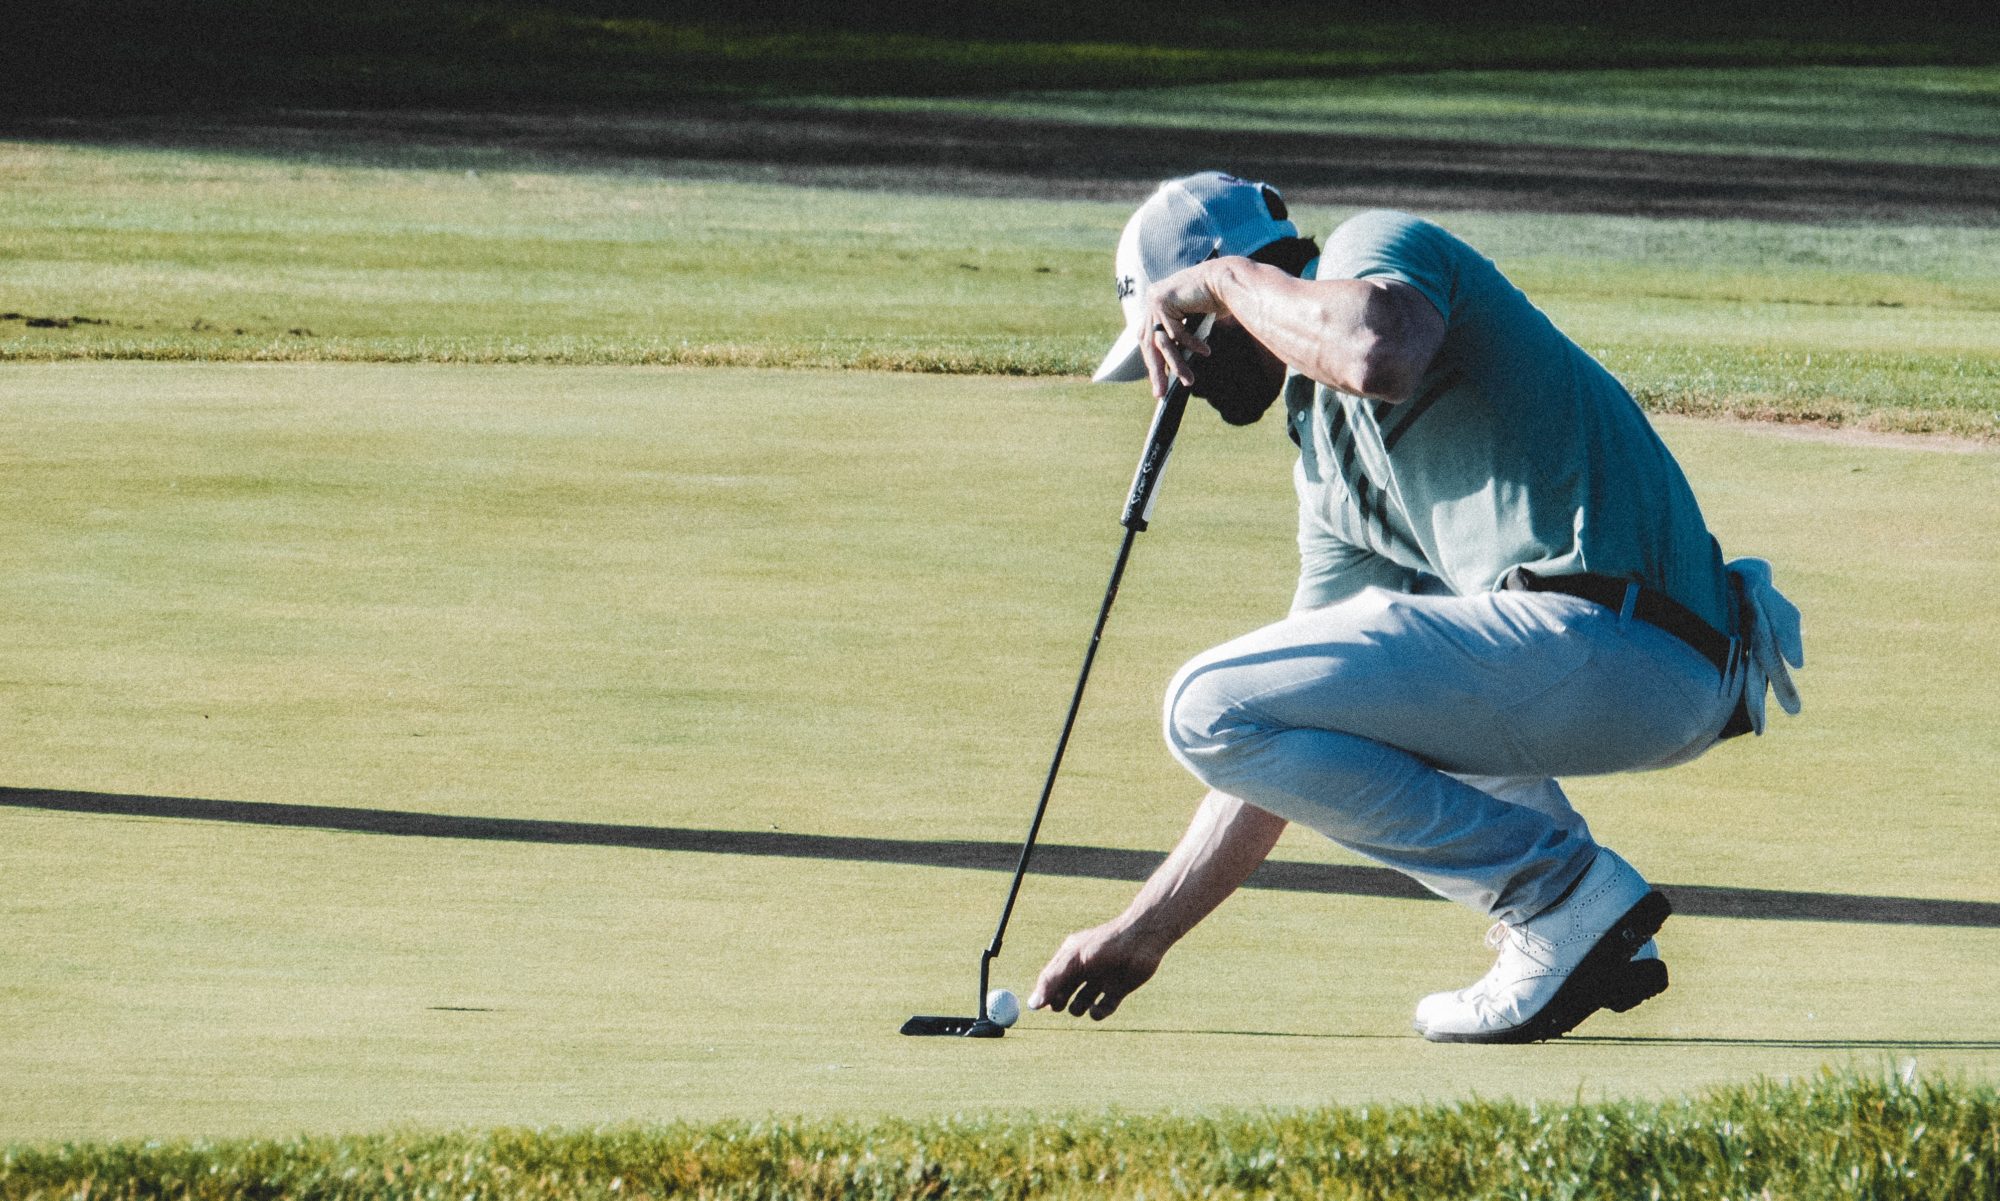
See how that works?
That’s the first basic of more effective putting–getting the grip in the palm of your hand as opposed to your fingers to maximize your feel and minimize your misses.
The second basic is the actual grip itself. While you may prefer to use a ten-finger, overlap, or interlock grip in your full swing, using these grips for your putting stroke can lead to overactive hands, inconsistent results and poor play.
That’s why I recommend the “reverse overlap” to most of my students. In the “reverse overlap,” the index finger of your left hand overlaps your right hand and rests comfortably between the ring and pinkie finger of your right hand.
Now, when you grip the putter with both hands, the putter grip should run comfortably through both palms with your left thumb sitting on top or slightly right of the putter and fitting snugly into the lifeline of your right hand.
This position helps to keep the hands quiet, while also combining them as one unit to give you maximum control over your club.
So how do you know if you have a good putting grip or not?
Easy….
* For right-handed putters, take a hold of your putter with your left hand like I outlined above, with the grip intersecting the palm and your thumb pad on top.
* Now simply remove the pinkie, ring, and middle fingers, with only your thumb and trigger fingers on the club.
Your putter should balance nicely in the trigger finger and thumb pad, with the weight evenly distributed. You should feel as if you have complete control over your entire putter. Because, in a sense, you do.
If you can perform this little test with your putter in your hand, you should be good to go. Simply bring in your right hand so your left thumb fits comfortably into your right thumb pad, line up your putt, and make your stroke.
So let’s review the characteristics of a good putting grip:
1. Both hands should be in a natural and relaxed position…tension is “poison” for feel.
2. The palms should be facing each other. That encourages the hands to work together.
3. The palms should be square to the clubface. Square is significantly determined by the palm of your right hand (for right-handed golfers).
4. Both thumbs should be on the grip. We exercise most feel through the thumbs.
5. The grip should be more in the palm of the hands….very similar to driving a car. You want your hands able to react to “feel” but not be overactive.
6. The shaft of the putter should be an extension of the forearms.
Follow these simple grip guidelines, and you should find yourself sinking a lot more putts and getting a lot less frustrated on the greens.