Drain Putts Like Tiger Woods

QUICK COACHING

Struggling On The Greens? This Putting Drill Can Help Instantly

By Brendon Elliott, PGA

Published on Tuesday, February 20, 2024

Beyond some standard fundamentals, the art of putting is as individual as a fingerprint.

We all have unique factors influencing our approach to putting: our height, body type, tempo at which we walk and talk and, most impactfully, how we see a putt with our eyes all influence what we do with the flat stick, whether we know it or not.

We often force ourselves into a setup position that is too “squared off” or “technically sound” to allow our eyes to see that critical starting spot to roll the ball over just after impact.

Our brain, or subconscious, will actually reroute the putter on the downstroke if it feels that something is “off” visually when you make those last few looks with your eyes down the target line. This will lead to often funky-looking strokes and a potential massive loss of confidence.

If you’ve been experiencing some struggles on the green, not to fear. This drill below can help right away.

Find your spot
  • With three golf balls, start with a putt of 6 feet on the practice green.
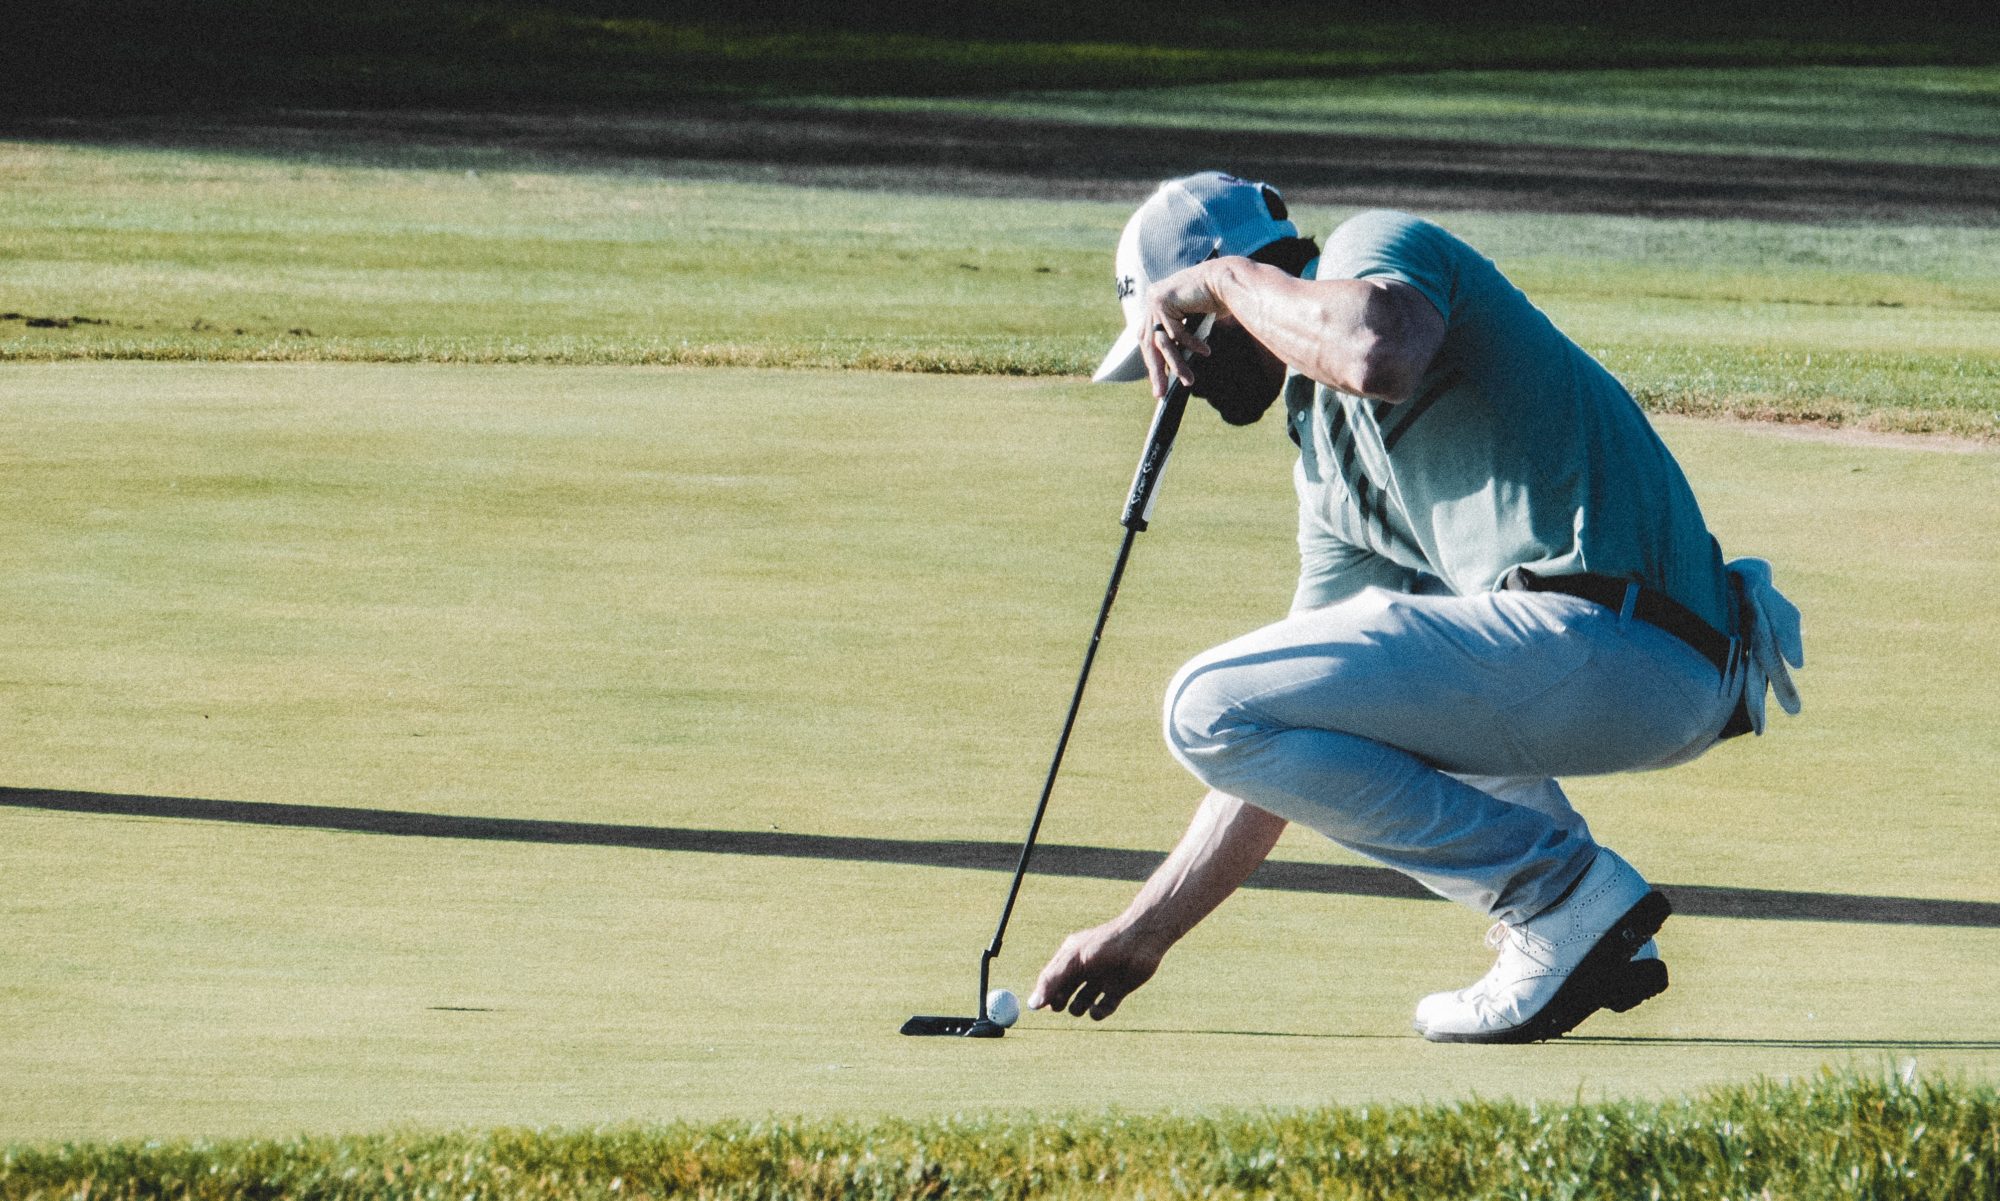
  • Really focus on your putting line. Take a trip around the hole and see the line from all sides.
  • Once you are confident on the line, find a point on your line about 4-6 inches past your ball and align the mark on your golf ball to that point. Pro tip: Using your golf ball mark is a critical part to being a good putter!
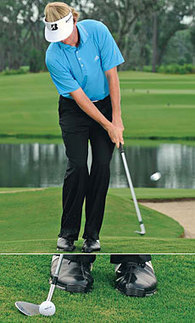
  • As you start to get set up to the ball, make it a point to feel comfortable with what you see with your eyes as you are over the ball. How does the line on the ball look in relation to that intermediate starting point? How does your putter head look with regard to the ball and your intermediate starting point? Adjust your body, line, or even your putter head if it seems off a bit.
  • It is critical to get your setup conditions correct in terms of what you see as you are over the ball and not necessarily in a way that feels more “technically sound.” Your eyes and instincts, unique to you, are far more critical in allowing you to roll the ball end over end and over that intermediate spot on your line.

Once you start continuously rolling the ball over that intermediate spot on your line, this drill will allow you to putt with more confidence and think less about how technically sound your putting may be. Technique is essential, but it often handcuffs golfers by not allowing them to stroke the putt freely and confidently!

Golf For Beginners – Find Golf Schools and Friends to Learn Golf – PGA.com

Golf For Beginners – Find Golf Schools and Friends to Learn Golf – PGA.com

Playing with Pace

Golf is sometimes perceived as a secret society with its own mores, culture and language, which can make it feel exclusionary, elitist or unwelcoming.  Yet, while the sport is deeply rooted in history and traditions that make it great, today’s golf scene is getting with the times like never before.  In fact, golf will present you with such unbelievable personal and shared experiences that the only fear you’ll have nowadays is a FOMO –a “Fear of Missing Out!”

There are almost too many reasons to list for taking up this great game, but here’s eight of them to get you started:

  • Connections Abound – Golf’s a relationship game.  Every angle of the sport is rooted in relationships—both personal and business. And your time spent in and around the game allows you to make connections and foster relationships through shared experiences that you wouldn’t otherwise make.
  • “Grass Ceiling” No More – Tired of being excluded from the informal networks your colleagues, especially the guys, are building on the course and then leveraging for career advancement?  Grass ceiling no more, girl.  Get in the game.  You’ll break down those barriers, and build a network for a lifetime.
  • The Great Outdoors – In this high-tech generation of being chained to our mobile devices while doing more with less at the office, who couldn’t use a little more time outside in the fresh air?  Can’t you just hear your mom saying, “Go outside and play!”?  Mom knows best, especially when it comes to what a little fresh air can do to boost your mind, body and spirit.
  • Calorie Burn – Who couldn’t use a little extra off?  You’ll burn approximately 2,000 calories during an 18-hole round (while walking and carrying your clubs) or even 1,300 calories when riding a golf car as you play!
  • Your Wardrobe Awaits – Forget about the stodgy, starchy, boxy and, yes, tacky golf shirts of days gone by.  Cute, fashion-forward, sexy, professional, sporty; whatever look you’re going for on the course, the fashion world is your oyster in golf.  Oh, and the shoes!  One word.  Love.
  • Your Significant Other – Golf is such a special sport to share with a spouse or partner.  You’ll leave the world behind and be together, undisrupted in a beautiful setting where nothing else matters but the two of you.  Fun and closeness are sure to result.  (And don’t fret if you don’t currently have a significant other, many happy couples are known to have met on the golf course.)
  • Destinations Await – Around the corner or even the globe, golf travel can take you to stunning locations all over the world.
  • That One Shot – There’s no way to do justice to describing the feeling of pure exhilaration you’ll experience the first time you connect your golf club with that little white ball.  There’s really nothing like it!  You can do it…And you’ll never forget it!  Believe me, it will keep you coming back to the game you love!

So, no more FOMO…Get Golf Ready today!

Get More Distance Out Of The Ground

NEW RESEARCH

Get More Distance Out Of The Ground

3 power moves the pros make that you don’t

WITH RON KASPRISKE
PHOTO BY STEPHEN SZURLEJ

March 2011

There are a lot of differences between the golf swing of an elite player and that of the average amateur, but what are the biggest? Let’s look at what most golfers want more than anything: power. My work with biomechanics researcher Jean-Jacques Rivet has proved that most amateurs don’t push into the ground effectively to create leverage in their swings. And leverage leads to power.

With the use of J.J.’s data, we’ve found three spots in the average golfer’s swing where a lack of leverage is most evident: the takeaway, halfway back and the transition. I’m going to share our findings with you and give you some drills to fix these power leaks. Follow our advice, and you’ll start hitting the ball better than ever.

1.THE START OF THE BACKSWING

Ground force in the takeaway: 
Pro: 125% of body weight
Amateur: 70% of body weight
Most amateurs tend to lose leverage early in the backswing by raising their bodies, which lightens the force they apply to the ground. The pros do the opposite and apply even more force, giving them a much more stable base to coil the upper body.

leadbetter

DRILL
Take a wood block or similarly weighted object such as a hardcover book and place it behind your 6-iron at address. Push the block away from the target as you start your backswing (right. You should feel pressure building in your right heel as well as the ball of your left foot from the extra effort it takes to move the block.

2. HALFWAY BACK

Ground force in the takeaway: 
Pro: 125% of body weight
Amateur: 65% of body weight

Even if they had good ground force at the start of the swing, many amateurs lose that grounded feeling at this point. As that pressure decreases, they stop coiling and begin to lift their hands and arms as a compensatory move to finish the backswing. Pros continue to coil all the way to the top because they’re still grounded.

leadbetter

DRILL
Place a club on the ground and stand on the shaft with both feet as shown (right, shoes optional). Then swing a 6-iron while standing on the shaft. As you move past the halfway point in your backswing, you should feel a steady or increasing amount of force in your right heel and the middle of your left foot. Because of this force, you should be able to complete your upper-body turn just like the pros do.

3. THE TRANSITION

Ground force in the takeaway: 
Pro: 145% of body weight
Amateur: 90% of body weight

As the club starts down, elite players increase the pressure under their feet — it looks as if they’re starting to squat — which shallows the swing plane and increases clubhead lag. It’s a huge power move. Most amateurs swing down on too steep of a plane and release the clubhead lag early, usually resulting in a weak slice. They often have more ground-force pressure halfway down than at impact. The sequence of the downswing should be from the ground up, but these players frequently do just the opposite, leading with the upper body.

leadbetter

DRILL

Set up with your feet and hips open to the target and take the club to the top. As you start to swing down (right), rotate your hips in a clockwise direction — a feeling of closing them off to your target even more. This dynamic move will force you to push into the ground with your front leg. It also will keep your shoulders from unwinding early and will drop your arms and club onto a shallow plane. Those are keys to hitting a powerful shot that curves from right to left.

BIOS
DAVID LEADBETTERa Golf Digest Teaching Professional, is based at ChampionsGate, near Orlando. JEAN-JACQUES RIVET is the sports biomechanics consultant to the European Tour.

Fairway Bunker Shots

Tips and instruction to learn proper fairway bunker shot technique.

By Kevin Cotter, PGA

The primary difference between a fairway bunker shot and a green side bunker shot is you strike the ball first then the sand in a fairway bunker.  The angle of attack to the ball is also more shallow than that of a green side bunker, in a fairway bunker the clubhead travels somewhat level to the ground through impact.

Also, position the ball more towards the middle of your stance.

Plan on up to a 1/3 distance loss with fairway bunker shots, therefore you may have to take some extra club, but do make sure you still have enough loft to to clear the lip of the bunker.

Check out the video link below with PGA Professional Michael Breed demonstrating a key tip on how to position the right foot in the sand in an effort to stabilize the back leg during the swing minimizing lower body movement. You must emphasize movement of the upper body with fairway bunker shots and keep the lower body fairly quiet.  This helps prevent your feet from pivoting/shifting in the sand during the swing.

Fairway Bunker Shots | PGA.com

PGA Professional Michael Breed hits Hazeltine National Golf Club to give you some helpful tips on the best ways to get out of those dre…
Below, Phil Micklelson describes the shallow attack angle and how he casts the club (breaks the wrists early in the downswing) to create a more shallow angle:


Happy golfing!

Practicing Your Golf Swing in Slow Motion

  1. Slow down when working on your swing for amazing results!

    Practicing your golf swing in slow motion is a concept I’ve always believed in and have religiously articulated throughout my teaching career, “If you can’t do it in slow motion, how could you ever do it in fast motion.”

    Now some have argued they are not one in the same in the sense that with a full speed swing the dynamics are different when considering the impetus generated through centripetal force.  I believe this is true but only to a certain degree as they are overall missing the point that the player first needs to understand the exact positions they need to achieve within the swing and repeat those motions slowly over and over again and habituate them then slowly transgress over to full speed swing.

    Check out the Slow Mo Drill video below:

  2. Amazing, here is a video of Ben Hogan actually practicing in slow motion as referenced above by Brad Brewer.
  3. [youtube http://www.youtube.com/watch?v=h5vTfi0gtZ8?feature=oembed&w=400&h=225]
  4. Just for the sake of analysis here is a great slow motion swing video with Professional Golf Coach Mitchell Spearman examining the swing of the 2010 US Open Champion Graeme McDowell.

Executing the Perfect Pitch Shot

  1. This is a great tip to improve your pitching game.  The primary key to the shot is keeping the arms, shoulders and body moving somewhat in sync as described in this article by Krista Dunton PGA, by allowing the right elbow to fold against the right side during the back swing and left elbow to fold against the left side during the through swing.  Check out the article and video below for some great short game pointers.
  2. Todd Anderson on the Pitch Shot
  3. [youtube http://www.youtube.com/watch?v=WGA9HofE1Ek?feature=oembed&w=400&h=225]

Hitting the Ball Farther

  1. This is a great tip by Martin Hall PGA.  I provided an excerpt below from my recently posted article referencing the one-piece-takeaway and how it also helps establish the coiling affect described in this video. Combining the two thoughts will certainly go along way in “Hitting the Ball Farther.”

    “The “one piece takeaway” sets the timing of the swing into immediate sync. The desired sequence of movement is; clubhead, hands, shoulders, hips and lower body in that order. This backswing sequencing establishes proper coiling of the upper body against the lower body, providing a power generating spring like action to be unleashed during the downswing.”

    Article Source: http://EzineArticles.com/7488903

Of course better physical condition can also help you hit the ball farther, check out these drills from PGA.com to help build the muscles you need to hit the ball farther! 

My Favorite Shots To Save Par

See on Scoop.itgolf instruction

Brandt Snedeker shares his favorite shots around the green. (RT @GolfDigestMag: One of Brandt Snedeker’s favorite shots around the green? The hands-free lob.

BestGolfeBooks‘s insight:

The "Hands free lob" is an adaptation to the pitching swing and is a great tool in and around the green.  The firmness in the hands provides a high degree of consistency.

See on www.golfdigest.com

Top Three Golf Swing Set-Up Tips

Stance

The stance is the foundation of the golf swing and like many other sports requires the player to prepare for athletic action. Begin by evenly dividing your weight between both feet, slightly favoring the balls of the feet not the toes or heels. Next, position the feet approximately shoulder width apart. Proper stance width helps maintain good balance, too narrow a stance increases instability and too wide restricts hip and shoulder turn, making it difficult for the player to properly transfer weight back onto and over the right leg during the backswing.

Turn the left foot (forward foot) outward toward the target about a quarter turn. This position allows the player to maintain dynamic balance throughout the golf swing and well into the finish. The back foot (right foot) should generally be pointed straight forward or at a right angle to the target line. This position allows power-generating resistance to build by stabilizing the right leg while the upper body turns around it.

Alignment/Aim

Aligning or aiming the body properly is crucial if one desires to develop a powerful repeating golf swing. The first key point of alignment is; align the leading edge of the
clubface square or at a right angle to the target line. Then set the tips of the toes, knees, hips, shoulders and eyes parallel to that same line. This method of alignment is
referred to as aiming “parallel left.” If a player is to err or deviate from this common principle it would typically involve the feet and body aiming slightly to the left of the
target. Keep in mind though, whatever combination of body and clubface positions a player employs is deemed acceptable if it results in the clubhead consistently traveling down the target line with the clubface square to that line.

Golf is a target game and it is very easy to get caught up in the complexity of the perfect golf swing. However, many who follow this quest fail to recognize that no matter how beautiful the swing becomes it is of little value if aimed incorrectly

Posture

Another key element to develop a powerful repeating golf swing requires the upper body to be tilted over the ball slightly at address. This is achieved by bending from the hips over the ball, not the waist. Bending from the hips allows the spine to remain straight and the buttocks to protrude slightly, whereas if we tilt from the waist the spine tends to curve. The head should also match the plane of the back; this allows the left shoulder to turn underneath the chin during the backswing. This very much helps maintain centeredness while completing the backswing.

Article Source: http://EzineArticles.com/?expert=Kevin_R._Cotter

Article Source: http://EzineArticles.com/7100068

Four Keys to Developing a Championship Golf Grip

Developing a championship golf grip is essential to consistently deliver the clubface squarely to the ball. As the great Arnold Palmer once said “The grip is the crucial junction point from which all the body’s strength and rhythm are transmitted to the club.”

The golf grip is considered a pre-swing principle and carries with it a wide range of personal preferences from which to choose, but there are four keys or common denominators to a championship golf grip that all great players apply.

1. Positioning

“Positioning” refers to the rotational location of the hands on the club. The proper position is best achieved by first allowing your arms to hang somewhat naturally while grasping the club, resulting in a position where the palms of each hand oppose one another or are rotated slightly inward. This resembles the look of praying upside-down. If the hands shift too far to the right or clockwise on the club it would be considered a “strong grip” (closed-face-grip) which encourages a hook, if rotated to far to the left or counterclockwise the opposite would apply or “weak grip” (open-face-grip) which encourages a slice. A desirable position would be one where the upside down V formed between the thumb and forefinger of the left hand (upper hand) points to your chin or right cheek, and the V formed by the lower hand pointing slightly more towards the right shoulder. The opposite would apply for the left-handed player

2. Placement

The upper hand should be placed consistently about 1/2 to 1 inch down the grip from the top or upper end of the club. Position the thumb of the left hand slightly right of center on top of the club; place the thumb of the lower hand on the forward side of the club touching both the club and the tip of the index finger. Also, grip the club in the fingers of both hands as much as possible as grasping the club into the palm rather than the fingers tends to limit joint wrist flexibility.

3. Grip Pressure

Grip pressure should be a 2 or 3 on a scale from 1-5 with 5 being the tightest you could possibly hold the club, or light enough to encourage maximum clubhead speed without losing directional control, and still hold onto the club. Gripping the club too tightly retards clubface rotation as well as prevents the hands/wrists from hinging properly, destroying power generating leverage.

4. Grip Options

There are three grip options from which to choose. The most common grip is the overlapping grip or Vardon grip named after Harry Vardon, where the little finger of the right hand (lower hand) is overtop and in-between the first two fingers of the left hand. The second option is the interlocking grip where he little finger of the right hand is intertwined with the index finger of the left hand. This adjoining or melding together of the hands with both the Vardon and overlapping grip help unify the hands and aids in preventing one hand overpowering the other resulting in increased distance and consistency. The third option or the ten-finger grip sometimes called a baseball grip is only recommended for very young or physically weak individuals who do not possess adequate strength to otherwise hold and swing the club.

Lowering your scores is just a click away! The best instruction available is at your fingertips! Go to http://www.KRCotter.com and begin to achieve your potential now! Impress your friends and begin to eliminate those embarrassing shots today!

Article Source: http://EzineArticles.com/7085976